3D Printer Calibration G-code Generator
Generate temperature tower, retraction, flow, max-flow, pressure advance & bed-level G-code · free, no signup
Your printer & filament
See 3D Printer Calibration G-code Generator in action
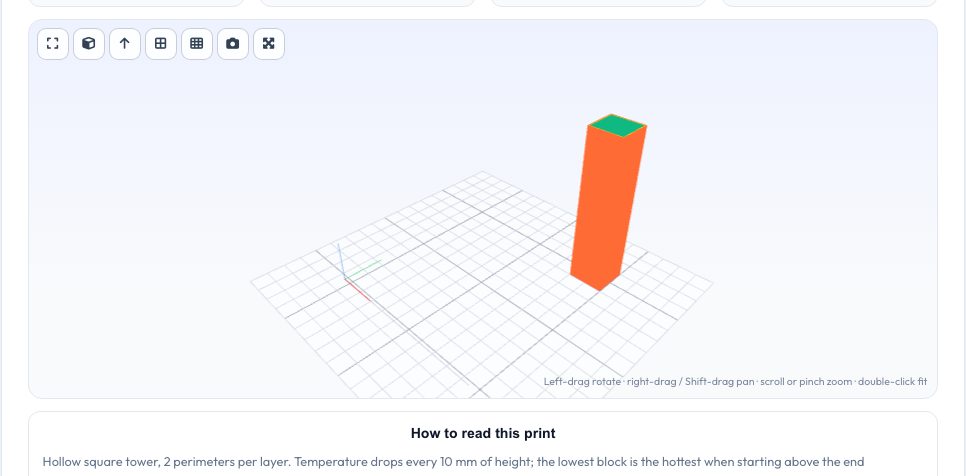
Free 3D Printer Calibration G-code Generator
Calibration prints are small, but getting them is a chore: download an STL, slice it, edit the temperature at each layer, mess with start G-code. This generator writes the G-code directly. Set your bed size and origin, nozzle, layer height, filament diameter, speeds and temperatures once, choose a test and press Generate — you get a complete file with a purge line, layer-change comments and the exact commands for your firmware (Marlin M900 K, Klipper SET_PRESSURE_ADVANCE, RepRap M572).
Six tests are included. The temperature tower steps the nozzle temperature every block; the retraction test prints two towers while the retraction length or speed changes per block; the flow test prints single-wall bands at different flow percentages and converts your caliper measurement into the right setting; the max-flow test raises speed (and so volumetric flow) every band to find your hotend's limit; the pressure-advance pattern prints slow-fast-slow lines at increasing K; and the first-layer test prints solid squares across the bed to verify levelling. A 3D preview and a table tell you what each band or line means.
Key features
Six real calibration prints
Temperature, retraction, flow, max volumetric flow, pressure advance and first layer.
Firmware-aware
Marlin, Klipper and RepRapFirmware commands; or paste your own start/end G-code.
Reads like a slicer file
Layer markers and feature-type comments so any viewer understands it.
Interpretation built in
Block-by-block table and instructions for how to read the result.
How to use it
- Pick a test tab and set its parameters.
- Enter your printer and filament settings.
- Press Generate G-code and check the preview.
- Download the .gcode, print it and read the result with the table.
Worked example
Example
A PLA temperature tower from 215 °C down to 185 °C in 5 °C steps gives 7 blocks of 10 mm each. The table lists the height range of every block (block 4 = 200 °C at 30–40 mm), so if the cleanest-looking section is 30–40 mm tall you know to print this filament at 200 °C.
Who uses this tool
Anyone tuning a new printer or filament
Dial in temperature, retraction, flow and K without a slicer.
Klipper / Marlin users
Use the right commands for pressure advance.
Educators
Run repeatable calibration prints in a class.
Tips for the best results
- Use your normal printing speed so the result matches real prints.
- Calibrate in order: first layer → temperature → flow → retraction → pressure advance → max flow.
- Keep your slicer's start G-code in the custom box if you rely on bed meshing.
- Check the first layers in a viewer before a long print on a new machine.
Common mistakes to avoid
- Skipping the bed-level test and calibrating on a bad first layer.
- Measuring the wrong wall in the flow test — measure the centre of each band.
- Running the max-flow test hotter than the filament can handle.
Why use AZRS QuickFix?
It is 100% free, needs no signup and has no watermark or usage limits. The tool runs in your browser, so what you type stays on your device, and it works on phones, tablets and desktops. New tools are added every week — bookmark this page or browse the full QuickFix toolbox.
Frequently asked questions
Is the generated G-code safe?
It is plain G-code with homing, heating and moves inside your bed size. Always watch the first layers on a new printer.
Why a hollow tower instead of the usual STL?
Walls-only towers keep file size and print time small; they test the same variables.
Does it work with Klipper macros?
Paste START_PRINT/END_PRINT in the custom start/end boxes.
Is anything uploaded?
No.